Air dry clay has taken the crafting world by storm, and for good reason. Unlike traditional ceramic clay, which requires an expensive, high-temperature kiln to cure, air dry clay hardens naturally at room temperature over 24 to 48 hours. This makes it an incredibly accessible, affordable, and versatile medium for crafters of all skill levels. One of the most popular, functional, and beautiful projects you can create with this material is a custom ring dish. These petite vessels are perfect for holding your daily jewelry, keeping your engagement rings safe by the sink, or gifting to friends and family as thoughtful, handmade treasures.
In this comprehensive guide, we will explore ten unique, creative, and highly customizable DIY ring dish ideas using air dry clay. Whether you lean toward minimalist chic, vibrant bohemian aesthetics, or botanical elegance, you will find a project here that sparks your creativity. We will also cover essential tips for working with air dry clay, including how to prevent cracking, how to smooth out imperfections, and how to seal your finished dishes so they remain durable and water-resistant for years to come. Grab your clay, roll out your work mat, and let’s dive into these inspiring handmade projects.
1. The Marbled Pastel Ring Dish
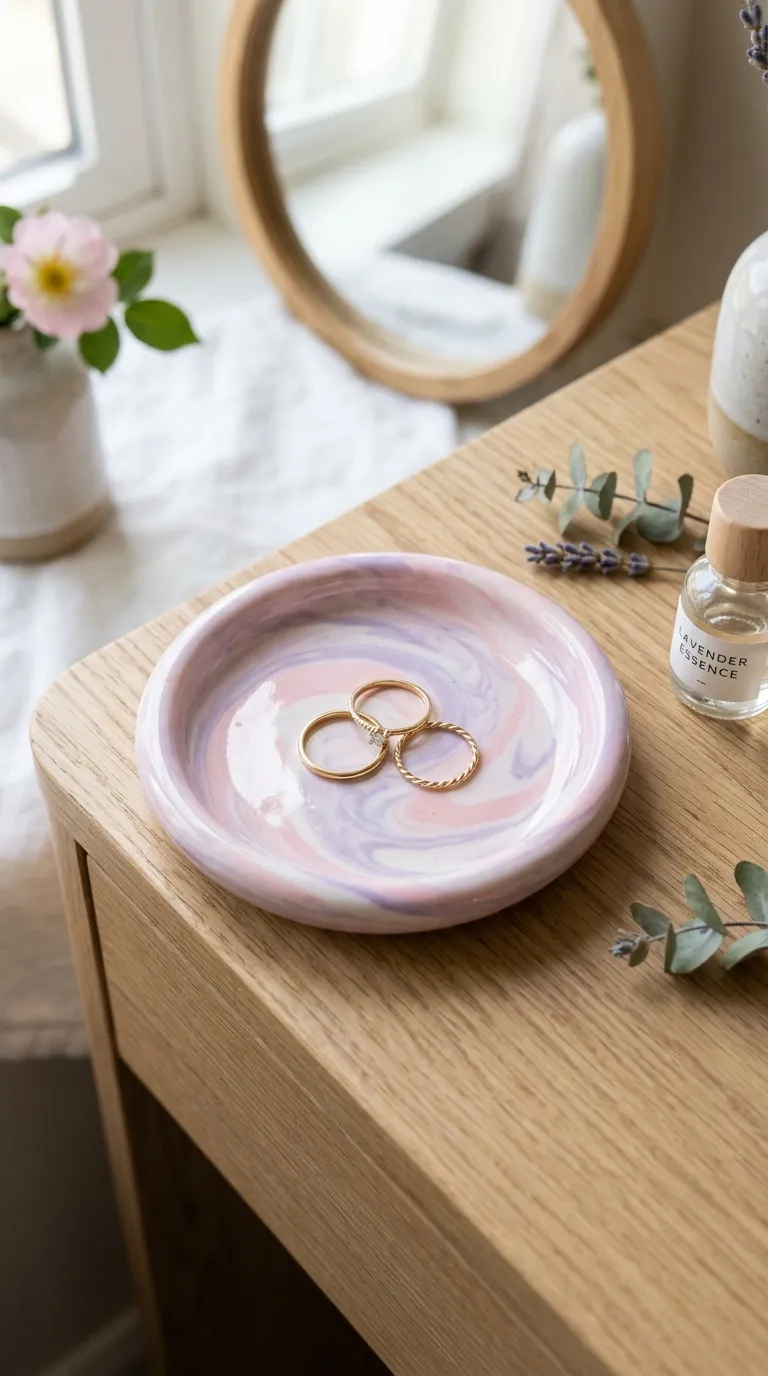
The marbled pastel ring dish is a classic DIY project that looks incredibly high-end but is surprisingly simple to achieve. By blending two or more coordinating colors of clay together, you can mimic the luxurious look of natural quarried stone or soft, swirling clouds. To create this effect, select a base of white air dry clay and two pastel accent colors, such as dusty pink and soft lavender. If you are using standard white air dry clay, you can easily pre-color small portions of it by kneading a drop or two of acrylic paint directly into the wet clay until the color is fully integrated.
To construct the marble pattern, roll your chosen colors into long, thin snake-like ropes. Twist these ropes together tightly, fold the combined rope in half, and twist it again. Gently roll the twisted clay into a cohesive ball, then use a rolling pin to flatten it out to a thickness of about one-quarter of an inch. As you roll, you will see the colors stretch and swirl across the surface. Use a circular cookie cutter or a small bowl as a template to cut out your dish shape. Drape the circle gently inside a small, shallow bowl to dry, which will give it a beautiful, uniform curved edge. Once dry, sand any rough edges and seal with a high-gloss glaze to emphasize the polished stone look.