Transforming your outdoor living space does not require an expensive trip to the local landscaping nursery or a professional design contract. Sometimes, the most enchanting garden accents come from the simplest materials found right beneath our feet. Garden rock painting has emerged as a beloved, budget-friendly, and deeply therapeutic craft that allows homeowners to infuse personality, color, and whimsy into their flowerbeds, pathways, and container gardens. Whether you are an experienced artist or picking up a paintbrush for the first time, working with natural stones offers a forgiving and incredibly satisfying canvas.
In this comprehensive guide, we will explore ten creative, step-by-step DIY painted rock projects designed to elevate your garden decor. From practical vegetable markers to whimsical fairy tale features, these ideas will breathe new life into your outdoor spaces. Before diving into the projects, it is helpful to gather a few essential supplies. For long-lasting outdoor durability, look for smooth, flat river rocks, high-quality acrylic paints or specialized multi-surface outdoor paints, fine-tipped paint pens for detailed linework, and a premium clear polyurethane or acrylic sealer to protect your finished masterpieces from rain, wind, and harsh UV rays.
1. Whimsical Painted Rock Ladybugs
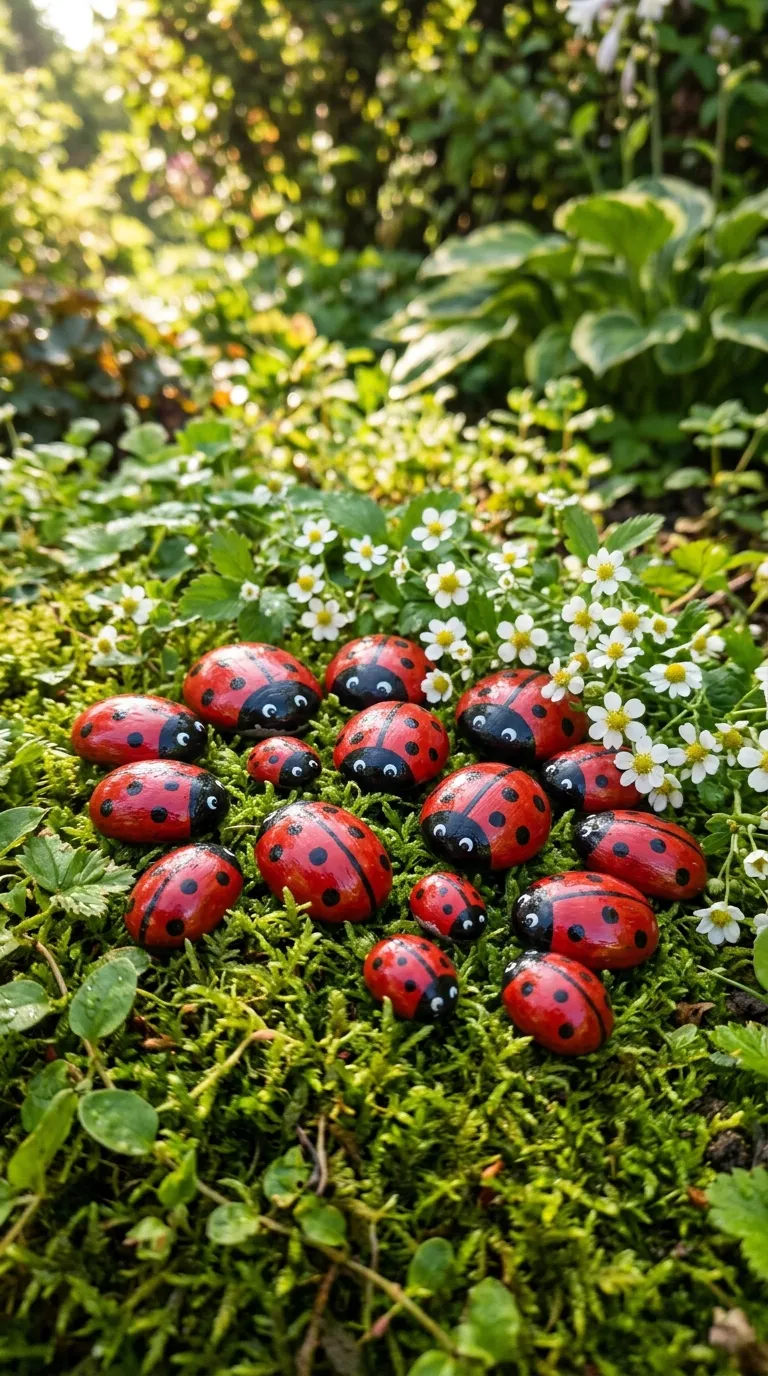
Ladybugs are a classic symbol of good luck and are highly beneficial insects for any organic garden. Recreating these beloved red-and-black beetles on smooth, rounded stones is one of the most accessible and rewarding DIY projects for crafters of all ages. To begin, select small to medium-sized river rocks with a naturally domed shape. Clean the stones thoroughly with warm soapy water to remove any dirt or oils, and allow them to dry completely before applying paint.
Apply a vibrant base coat of outdoor acrylic red paint to the entire upper surface of the stone. You may need two coats to achieve a solid, opaque finish. Once the red base is dry, use a medium-sized brush and black acrylic paint to create a curved head at one end of the rock. Next, paint a thin, straight black line down the center of the remaining red area to represent the beetle’s wings. Using a small detail brush, the back of a paintbrush, or a black paint pen, press down gently to create symmetrical black polka dots on either side of the center line. Finish your ladybug by adding two expressive white circles for eyes with tiny black dots in the center. These charming ladybugs look beautiful when nestled among leafy hostas, tucked into potted herbs, or lined up along a garden path.